
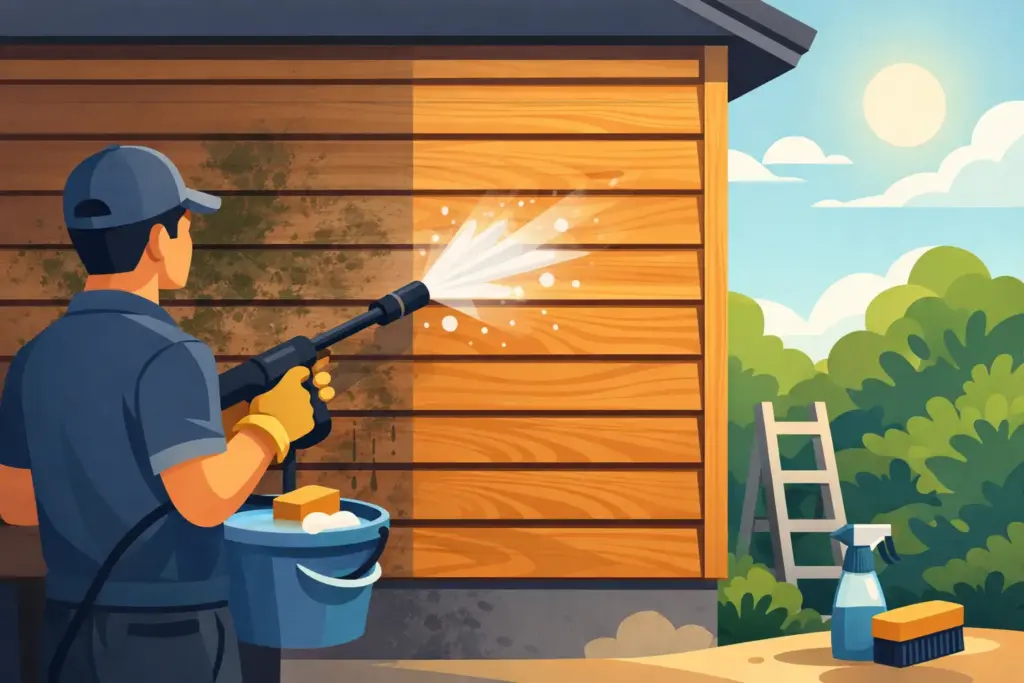

A gray-green film on cedar is easy to overlook at first. Then a wet Maine spring, shaded side of the house, or a few seasons of windblown dirt can make the whole exterior look tired. Knowing how to clean cedar siding the right way matters because cedar is beautiful, but it is softer than many other siding materials and can be damaged by the wrong pressure or cleaner.
Cedar does not need aggressive treatment to look better. It needs a careful cleaning approach that removes algae, mildew, dirt, and surface staining without roughing up the wood grain, forcing water behind the boards, or stripping a finish that is still doing its job.
Why Cedar Siding Needs a Gentler Cleaning Method
Cedar is a natural wood product. Its grain, knots, texture, and warm color are part of what make it appealing, but those same qualities mean it absorbs moisture and reacts differently than vinyl, brick, or composite siding. High-pressure washing may blast away visible grime quickly, yet it can also leave fuzzy wood fibers, uneven marks, raised grain, and water damage.
The goal is not to use the most pressure possible. The goal is to apply the right cleaning solution, give it time to loosen organic growth, and rinse the siding at a controlled pressure. That approach protects the wood while still delivering the clean, even appearance homeowners want.
Cedar siding can collect several types of buildup, including pollen, dust, cobwebs, algae, mildew, mold, and dark streaking from moisture. In Western Maine and nearby New Hampshire communities, trees and long damp periods make shaded walls especially likely to develop green or black growth. A proper wash addresses the source of that discoloration instead of just pushing it around.
How to Clean Cedar Siding Safely
Before any cleaning begins, look at the condition of the siding. Check for loose boards, cracked caulking, peeling stain, soft or rotted areas, open gaps around windows, and damaged trim. Cleaning will not repair those issues, and spraying water into an opening can make them worse.
Move outdoor furniture, grills, planters, and decorations away from the walls. Cover sensitive plants when needed, and thoroughly wet surrounding landscaping before and after cleaning. This helps protect shrubs and flowers from cleaning runoff.
Start With a Low-Pressure Rinse
A gentle rinse removes loose dirt, pollen, and cobwebs before cleaner is applied. Water should be directed downward or across the face of the siding, not upward beneath lap boards. Spraying from below can drive water behind the siding, where it may remain trapped and contribute to moisture problems.
A professional exterior cleaner uses equipment settings and spray tips suited to the material. Cedar should never be treated like a concrete driveway. If the spray is cutting into the wood, leaving lines, or lifting fibers, the pressure is too high.
Use a Cleaner That Targets Organic Growth
Algae, mildew, and mold often need more than water alone. A siding-safe cleaning solution can break down the growth and loosen surface dirt so it rinses away evenly. The correct mix depends on the amount of buildup, whether the siding is bare or stained, and the condition of the finish.
Harsh cleaners and overly strong bleach mixes can create problems. They may lighten the wood unevenly, affect nearby plants, or shorten the life of some stains and sealers. That does not mean a cleaning solution should never be used. It means the solution, strength, and dwell time should be selected for cedar rather than guessed at.
After application, the cleaner needs a few minutes to work. Do not allow it to dry on the siding. On warm or windy days, smaller sections are easier to manage because the surface can be kept damp and rinsed before the cleaner dries.
Rinse Thoroughly, but Do Not Overdo It
Rinsing is where careful technique makes a visible difference. Work from the top down, maintaining a safe distance from the siding and using enough water to remove residue without scarring the wood. Streaks after cleaning often come from incomplete rinsing, not from the cleaner itself.
Pay close attention to corners, trim edges, window surrounds, and the lower courses of siding. These areas tend to trap dirt and runoff. Once the siding is clean, allow it to dry fully before deciding whether it needs stain, sealer, or minor touch-up work.
What Not to Do When Cleaning Cedar
The fastest-looking fix is not always the safest one. Avoid blasting cedar with a narrow, high-pressure stream. Even if the siding looks clean immediately afterward, the damaged wood surface can hold dirt and moisture more easily than it did before.
Do not scrub aggressively with a stiff wire brush. It can gouge the wood, leave uneven texture, and disturb stain or paint. If light agitation is needed for a stubborn area, use a soft brush and work carefully with the grain.
It is also wise not to apply a new stain or sealer until the wood has dried completely. Moisture trapped under a finish can lead to peeling, blotchy color, and early failure. Drying time varies with humidity, shade, temperature, and how much water the siding absorbed during cleaning.
When Cedar Siding Needs More Than Cleaning
Cleaning removes surface buildup, but it cannot solve every cedar siding problem. If the boards are deeply weathered, gray from years of UV exposure, peeling badly, or showing signs of rot, a restoration or repair plan may be needed before cleaning alone can improve the appearance.
Black marks also deserve a closer look. They may be mildew or algae, but they can also point to moisture coming from a leaking gutter, overflowing downspout, roof runoff, or vegetation that keeps the wall in constant shade. Removing the staining without correcting the moisture source often means it will return quickly.
Overhanging branches should be trimmed back where practical. They limit sunlight, drop debris onto the siding, and keep the wall damp longer after rain. Keeping gutters clear is equally important. A clogged gutter can spill water down the face of cedar, leaving dark marks and creating conditions where organic growth thrives.
How Often Should You Clean Cedar Siding?
Most homes benefit from a professional exterior cleaning every one to two years. The right schedule depends on the property. A home surrounded by pines, close to a lake, or shaded by mature trees may need attention more often than a sunny, open property.
Walk around the home each spring and fall. Look for green growth, dark patches, dusty streaks beneath windows, and dirt collecting near the bottom of the walls. Catching buildup early usually allows for a lighter cleaning process and helps preserve the siding’s finish.
If cedar has been freshly stained or sealed, follow the finish manufacturer’s care guidance as well. Some finishes hold up well to gentle washing, while others need a more conservative approach. When there is any doubt, testing a small, less visible section first is the safer choice.
Leave High-Risk Cedar Cleaning to a Professional
Cedar can be cleaned well by a careful homeowner, but the risk of uneven results is real. Ladders, second-story walls, fragile older siding, heavy mold growth, and peeling finishes all add difficulty. A professional can assess the surface, choose an appropriate low-pressure method, protect landscaping, and clean the exterior without treating wood like a hard surface.
Western Maine Pressure Washing helps homeowners and property managers remove algae, staining, and exterior buildup with a cleaning plan suited to the material. A free quote makes it easy to find out what your cedar siding needs before the problem spreads across more of the home.
A clean cedar exterior should still look like cedar when the work is done – natural, even, and well cared for. If the siding is showing green growth or dull staining now, addressing it before the next wet season can help protect the character and condition of your property.